


Interior walls speak a lot about the mental makeup and inner thoughts. Every bungalow owner will want beautiful walls and for this, you must know how to take care of it.
Taking the help of a professional is a better choice but why to lose the chance of having fun and playing with colored walls and roll covers. Always keep a safer zone to know DIY skills to spend your weekend in beautiful and constructive purpose.
Preparing the walls for painting is one of the most important things to be considered and must be done in the right procedure. These painting tips would even help a novice to resemble professional quality walls. No luxuriant or branded paint will work if the walls are not prepared properly before painting.

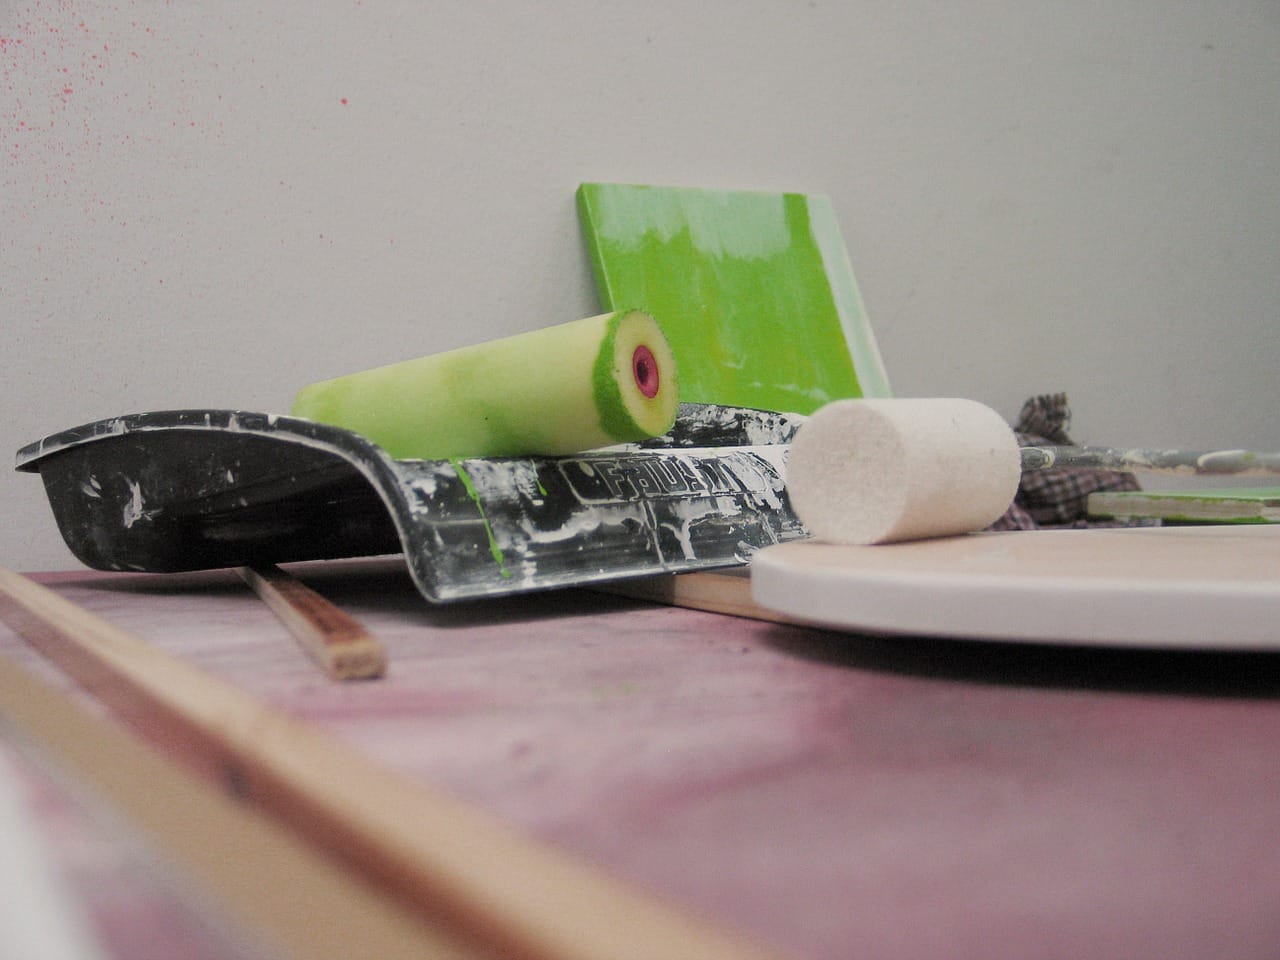
Tools required for interior wall preparations before painting:
- Paint brush
- Drop cloths and rags
- Floor duster
- Rollers
- Sander
- Paint grid
- Ladder
- High-quality primer
- Paint tray
- Gloves
- Extensions pole
- High-quality latex paint
- Google’s
- Paint buckets.
The steps to be followed are mentioned below as:
- Cleaning the wall.
- Mask the room with painter tape.
- Move furniture and cover the floor with the drop cloth.
- Smoothen walls by the sander.
- Prime the walls.
- Paint the walls.
- Remove the painter tape.
So here are the tips for preparation of walls.
Repair the Damages
- The most successful part is in patch, sand, and scrap and smoothens every holes, cracks, bumps, dent and surface imperfections. This work displays total boredom but is most important, notable and must be given undivided patience and practice.
- No expensive paint will work on a rough wall. The manufacturer must not be given any reason for the disappointed and dissatisfactory product.
Remove furniture’s
- Remove all the bulky types of furniture and domestic accessories from the room to be painted.
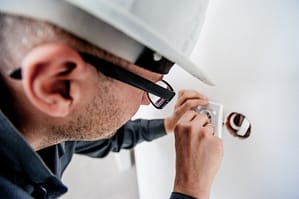
- Safety tools before preparation for painting.
- Don’t forget to have your safety goggles, gloves, head cover and old clothes to avoid paint splash and on you.
- Make sure if you are allergic to the paint fumes or chemicals. If you have any kind of this sensitiveness, then please avoid.
Clean the Walls
- Clean the walls in the right way. Dust the walls off. You can use the vacuum cleaner for this purpose too.
- You can use laundry detergent with some water to make a good solution to clean kitchen and bathroom walls.
Remove Old Paints
- To remove old paint bumps, cracks or old flaked painting or any type of rough surface, you can use sandpaper piece clipped to a block for good control and driving in all.
- Nowadays, the electric sander is also available to make your work much easier and less time-consuming. If you have good muscle power and man force, use it in these purposes rightfully.
Basic Needs
- The things which you will need before painting you need to keep in front of your eyes are the primer, base, paint bucket, paint brush, paint can- opener, drop cloth, extensions pole for roller, roller cover etc. These are basics and must required essentials.
Choice of primer and priming
- There is diverse and dynamic primer available in the market. You can go for the one according to your budget and pocket account. Its advised to always opt for a good quality and conditioned primer.
- Go for a pro-water-based primer or oil-based primer. The oil based primer will sustain the heavy stains, smoke damage or wall flaking or panelling later and help in its reverse removal.
- The wall scones ought to be protected with painter tape.
Know the art of painting
- Wall time and efforts economy is a good art. Know the basic skills of painting after you have prepared the wall. You can apply paint in “W” shape. Fill the gap until the work seems to be perfect. It will save much time and energy in this way.
Cover the floor to avoid splatter
- It should be taken care that the before painting, you must spread some old clothes or large cloth on the floor to avoid and condense your efforts in cleaning the colored floor after painting.
Good Ventilator system
- Note that your room to be painted has big windows and clean ventilator system to pour fresh air and to the outlet, dissolve the chemical fumes.
Use of painter’s tape
- If you have the untextured wall, the use mask the room with painter ‘s tape. The adhesion levels are diverse and you can choose accordingly, whichever is right for you.
Smoothen the walls with sander
- After using sandpaper to smoothen the wall surface, use a damp cloth to clean it properly.
Interior painting
- Brush the wall with high-quality latex paint before the tape. Overlap with strokes when you have finished filling the bits afterward.
- Start now with painting. Apply the topcoat imitating the previous process. Roll with manageable 3*3 dimensions area from ceiling to the floor.
- Roll the roller paint back forth, gove as many strokes and reload it with paint to give quality color quality and finish.
- A second coat may be applied for more optimum results
The painter tape must be removed just before the paint dries completely and then disposed of.
Use of Canvas
- You can use the canvas rather than drop cloths too. Canvas is a much better option. It’s clean and absorbs the paint splatters, trippings and protects the furnishings in a neater way.
Extensions pole
- While you shop for extension pole, look for soft, non-slip grip with a good metalcore. Plastic handles are flexible which makes them harder to use and control.
Use paint grid
- Rather than later using a paint tray, a paint grid is the much cleaner approach. It is simple to use. It is just attached to the paint bucket rim and removes the excess paint more neatly whereas using a paint tray is gives more messy proportions. Dip the roller in a bucket and then roll against the grid and viola..!! You are done.
Mix primer with paint while priming
- For a gorgeous and tidy profit, mix primer with a small amount of paint. It gives better look and nicer topcoat imitation of higher quality.
Useful Tip
If you want to do a painting for the next day, then don’t worry about washing the paint brush. Just dip the paintbrush in some oil but dipping in kerosene is much better ruled to avoid sticking of brush hairs more rigidly.
Conclusion
We hope these steps for preparation of interior wall preparation and then the pretty painting tips would be great for any novice and serves the purpose of painting rightly.
If done with the right direction, patience, and, practice, it promises quality color and highlights the professional frame.